Published May 29, 2026
Turning reviews into endless content requires extracting four specific asset types: product photos, quote snippets, unboxing clips, and full written reviews, and mapping each format to its highest-converting channel.
You extract the assets immediately after a creator campaign ends, organize them by use-case, and deploy them across ads, product detail pages, and email sequences.
Over 80% of marketers fail to repurpose creator content beyond the initial post cycle, leaving valuable assets sitting untouched on local drives. A campaign brief functions as a content production contract, meaning the assets generated should feed your marketing calendar for months after the initial launch.
This guide maps each asset type to the channel where it performs best and provides a post-campaign checklist teams can execute immediately.
Lock In Usage Rights First

Deploying creator content without documented rights exposes the brand to legal risk and immediately damages influencer relationships. Content usage generally falls into three distinct tiers with escalating permission requirements.
Organic resharing requires basic credit, while website or product page embedding demands explicit written permission.
Amplifying creator content as a paid ad requires formal licensing approval, because organic approval never automatically transfers to paid media usage under standard platform terms of service.
The most efficient approach places a specific usage rights clause directly into the original collaboration agreement before the product ships. This contract must specify the exact deployment channels, the duration of the usage period, and the distinction between paid and organic applications.
Securing these terms upfront aligns with disclosure guidelines enforced by regulators and platform rules regarding boosted brand content. Teams that build these rights into their initial workflow create a continuously growing licensed asset pool.
When requesting rights retroactively, send a direct message stating exactly where the asset will live and how the creator will be credited. Use a structured template asking for explicit permission to feature their review in upcoming automated email sequences or primary product pages.
Once approved, save these interactions as timestamped screenshots filed by the creator's handle, or manage the approvals through dedicated licensing platforms.
Assuming that a simple platform tag equals legal authorization represents a common compliance failure.
Build Your Post-Campaign Asset Library

Establishing an operational backbone guarantees that post-campaign files remain retrievable and ready for future deployment. Within 48 hours of a campaign closing, the marketing team must download all photos, video clips, and written text from every participating creator into a centralized drive.
This pull requires scraping every active channel the creator used, including Instagram, TikTok, dedicated blog posts, Amazon listings, and collected product reviews. Consolidating these files immediately prevents broken links or deleted posts from destroying your collected asset pool.
Once downloaded, categorize every file into four core buckets: product photos, quote snippets extracted from longer text, unboxing video clips, and full written reviews.
Tag each asset based on early performance signals by noting which specific posts earned the highest volume of saves, shares, and comments from the target audience.
You must also tag files by use-case readiness, flagging them as ready for product pages, advertisements, or email campaigns. Prioritizing high-signal assets ensures your most engaging creative enters the media deployment queue first.
Structure the storage system using a clear folder hierarchy within your preferred project management tool to maintain visibility across the entire marketing department.
Create a master campaign folder containing subfolders for each of the four asset types, with individual files labeled by the creator's handle and current usage rights status.
The team must revisit this asset library every quarter to identify seasonal reactivation opportunities hidden in the archives. A gifting-season unboxing clip captured in November frequently serves as high-converting ad creative when resurfaced for campaigns in May.
Best Channels For Each Asset Format
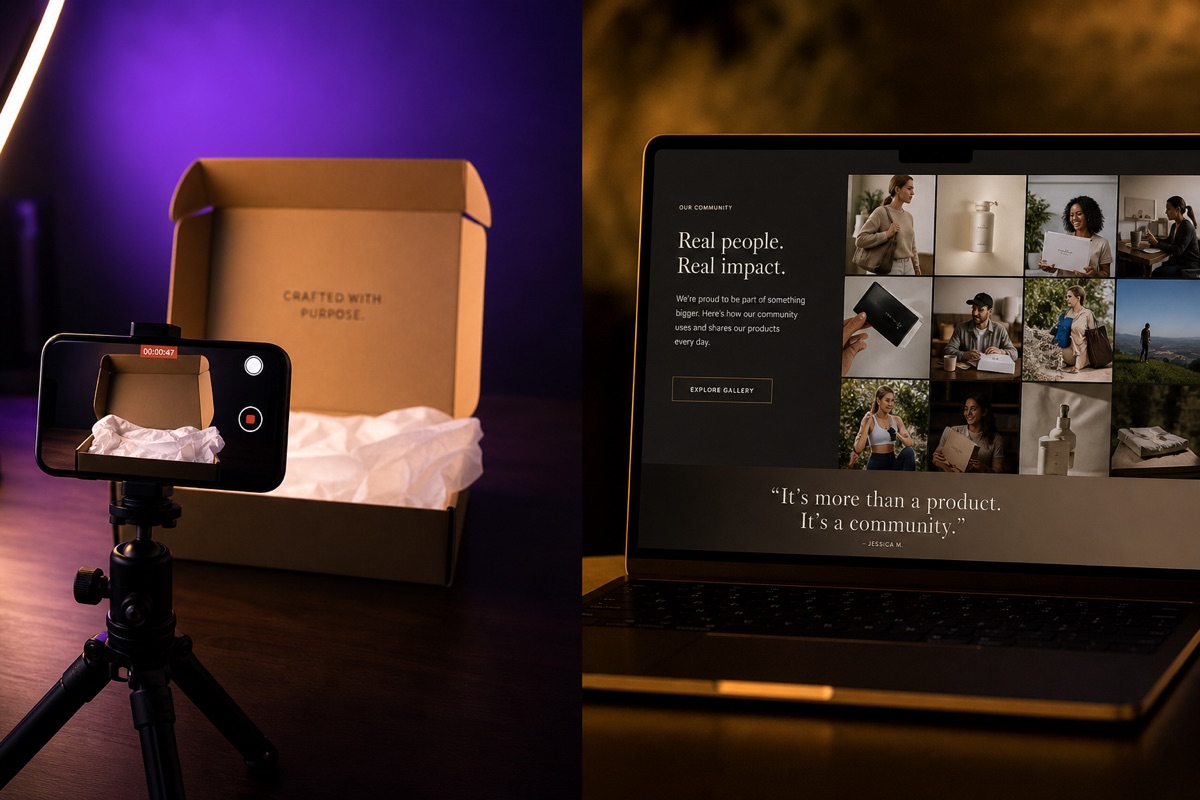
Matching the asset format to its specific function ensures the creative aligns with what the channel's audience needs to move forward in the purchasing process. Different digital touchpoints require specific file formats to address distinct buyer hesitations.
1. Unboxing Clips For Retargeting Ads
Unboxing videos capture the immediate moment of discovery, highlighting the packaging reveal and initial product presentation in a format native to short-form social feeds. Short-form video consistently outperforms static creative in mid-funnel retargeting contexts, often showing higher return on ad spend for moving assets.
These clips perform exceptionally well as Instagram Reels, TikTok ads, and Facebook Story ads when targeting users who previously visited a product page but exited without finalizing a purchase.
To optimize these video files, trim the footage down to the highest-energy five seconds featuring the unwrap moment or the direct reaction shot. Add bold closed captions since the vast majority of social feed video views occur with the sound turned off.
Pair the trimmed clip with a text overlay extracted from the same creator's written review to create a cohesive, multi-format creative unit.
Test these modified clips at both the top-of-funnel awareness stage and the mid-funnel retargeting stage simultaneously. Unboxing clips behave differently at each phase of the buyer journey and require separate performance evaluations to determine actual cost per acquisition. The clips that perform best in retargeting sequences rarely happen by accident, as they come from brands that planned the physical presentation before the item ever shipped.
2. Product Photos For Detail Pages
Creator product photos display the item in a real-world context, showcasing scale, actual texture, and the use environment in ways that pristine studio photography cannot replicate. Shoppers convert at significantly higher rates when product detail pages include community-generated photos alongside standard white-background images. These real-world assets perform best when loaded into secondary image gallery slots or placed within a dedicated community photo section right above the standard reviews.
Select photos where the central item remains clearly visible, properly lit, and completely uncluttered by competing background objects. Add the creator's first name and social handle as a micro-attribution caption to establish authenticity without requiring a heavy testimonial block. Marketing teams should run an A/B test pitting these creator images against standard lifestyle studio shots in the primary mobile hero slot to measure the direct impact on add-to-cart rates.
3. Quote Snippets For Email Campaigns
A three-sentence customer quote carries more persuasive weight than brand-written copy due to the independent nature of the source material. Incorporating social proof into email subject lines and pre-header text meaningfully lifts open rates for promotional campaigns.
These condensed snippets serve as highly effective social media ad headlines, display copy, and integrated social proof blocks within automated email welcome series.
Extract the single sentence that highlights a highly specific, concrete outcome rather than utilizing generic praise. A quote stating that a specific serum cleared up hormonal acne after two weeks vastly outperforms a generalized statement about loving the brand. Keep the reviewer's first name attached to the text, as attributed quotes consistently pull higher click-through rates than anonymous praise.
4. Full Reviews For FAQ Sections
Detailed written reviews answer the exact questions hesitant buyers type into search bars, using the customer's own vocabulary to build organic search value on product pages. Reviews that proactively address real objections regarding fit, delivery speed, or material quality function as automated sales support agents. These longer assets belong in dedicated FAQ sections, specialized trust pages, checkout cart inserts, and post-purchase confirmation emails.
Identify detailed reviews that directly resolve a documented buyer objection and copy that exact text into the corresponding FAQ toggle.
Format these longer paragraphs as structured pull quotes with a bold headline that mirrors a common customer support chat query. Displaying the reviewer's first name, verified buyer status, and exact purchase date maximizes the credibility signals for prospective shoppers looking for specific reassurances.
Choosing Reviews Worth Repurposing
Rapidly filtering the asset pool prevents production teams from wasting editing hours on weak, unusable content. The primary filter requires prioritizing specific details over general positive sentiment during the selection process.
A review detailing a six-month repeat purchase habit due to superior airtight packaging provides a deployable hook, whereas a brief comment about fast shipping offers zero marketing value. If the extracted quote applies perfectly to a competitor's product in the same category, it fails the specificity test and should remain in the archive.
Evaluate whether the written review describes a physical experience, like opening a gift or testing the item for the first time, rather than simply stating a five-star rating. Experience-based testimonials generate stronger emotional resonance when formatted into email body copy or social ad overlays.
You should also prioritize written text that arrived bundled with clear photos or video clips, as these combinations form a complete content package requiring zero additional production work.
The selected asset must align perfectly with the established brand voice and current market positioning. A luxury apparel brand will bypass a highly positive review if the customer uses casual slang that clashes with the site's premium aesthetic. Training the marketing team to run these rapid evaluations accelerates the entire post-campaign workflow.
Post-Campaign Content Repurposing Checklist

Executing a structured deployment sequence ensures that the organized library actually translates into active marketing collateral. Within 48 hours of a campaign closing, pull all creator assets into a centralized drive and organize them using the four-bucket categorization taxonomy.
During this same window, formally request and document usage rights for any file you intend to amplify with paid media spend. Securing these elements immediately prevents delays when the media buying team requests new creative assets.
During the first week post-campaign, audit and tag each file by format type and assign a quality tier ranging from immediate deployment to long-term archive. Flag the highest-quality product photos and submit them directly to the web development team for product page gallery insertion. Include the required creator attribution captions alongside the image files to ensure the web team uploads the required credit.
Moving into the second week, extract five to ten distinct quote snippets and load them into your email subject line testing rotation. Edit two or three unboxing clips for short-form ad formats by trimming the footage to eight seconds, adding closed captions, and layering a written review quote over the video file. Identify the full reviews that answer documented buyer objections and route those paragraphs to the site manager for FAQ section updates.
The Path Forward
A campaign brief serves as a formal content production contract, meaning every photo, video clip, and written quote generated represents a licensed asset ready for deployment. Brands that consistently generate highly shareable clips do so because they designed the physical unboxing presentation with the exact same intentionality applied to their ad creative.
That specific design decision, executed months before the product ships, determines whether the post-campaign asset folder holds any material worth extracting.
The post-campaign checklist functions as the immediate operational starting point for marketing teams. Run that exact sequence after your current campaign wraps, and apply it to every product launch moving forward.